This will also work for the 1.6 TD engines.
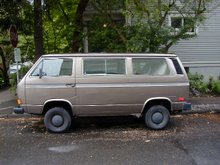
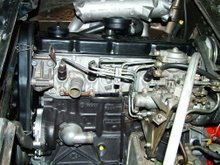
I have been working to convert an Indirect Injection Engine(IDI) into a Direct Injection Engine (TDI) and fit it in the blue Syncro after the brown one is done.
As I had a few Audi 5 cyl 2.0 TD engines laying around I thought that it would be interesting to convert one of them into a TDI and see if it would run OK and how much improvement there would be in fuel consumption.
I bought a 2.5 TDI cylinder head on Ebay Germany with a set of injectors, injection lines and an TDI Injection pump.
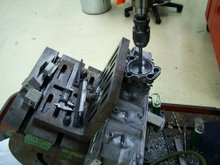
I am using pistons from a Renault 1.5 Clio diesel and modified them to make them fit and compensate for the 6 mm longer stroke of the Audi.
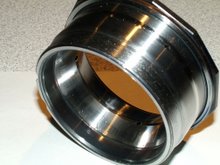
As one of the engines had the last oversize pistons in there, I had a set of sleeves installed in the block and honed out to the 76 mm of the Renault piston.
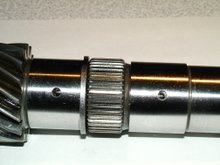
I have modified the original Audi TD injection pump to accept the 20 mm TDI pump shaft and clearanced the timing advance piston, TDI's need lots of advance.
Also changed the pump internally so that it has four rollers on the camplate instead of the TD's original three.
I will keep you posted on the progress.
Friday, August 15, 2008
Hydrogen generator
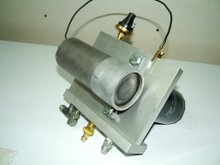
As I need to have a few projects going at the same time I have been experimenting with a hydrogen generator.
It consists out of a set of stainless steel plates that are submerged in distilled water with some potassium hydrochloride (KOH) mixed in the water to get the current flowing. Connected to a 12 volt battery it starts to generate Hydrogen gas which then flows into the engines intake.
This will improve the combustion process and save fuel( look on Youtube under HHO generation)or so the story goes.
I have made a few different models but am in the process of testing them to see if indeed it will improve the mileage.
Friday, May 30, 2008
Front shock absorbers
Last year I made some extended front shock absorbers from some truck shocks,after installation I found out that I made them a little too long. The front suspension is too stiff and hardly moves down.
So a modification was in order and I ordered a set of Old Man Emu front shocks which I modified.
I used some pieces of pipe and welded a solid piece of bar on the bottom that is 1 3/8" long and has the diameter of the original shock.
Next I cut the bottom eyes of the brand new shocks(sometimes you have to take a bit of a risk)and pressed the rubber bushing out of it, welded the eye to the tube bottom, powder coated it (the yellow that I used was a bit off from the original color, but beggars can't be choosers)and pressed the rubber bushing back in place.
Now I have to install it and rotate the shock so that the spring coil doesn't hit the upper A-arm when the suspension is totally extended.
Once installed, I will have to make 2 small welds to weld the tube to the spring plate.(Note:If you do this, do not weld to the shock itself, it may explode!)
It should lift the van up about 2" and still have the full stroke of the shock available.
The only material used is two pieces of pipe and two 1 3/8" pieces of solid bar.
The bottom of the shock is resting on the solid bar and the tube is touching the spring plate of the shock absorber.
Thursday, March 13, 2008
Gauge Pod
I made a gauge pod today from some 2" PVC-90 degr elbow's, cut them in half and sprayed some underbody coating on them so that they have some texture on them and painted them black with bumper paint.
Next I made an aluminum plate and cut 5 holes in it and held it against the belt sander to give it a brushed look,then glued all elbow's onto it.
Because the gauges that I used were quite deep, I made some aluminum rings that pressed into the elbow's and gave some extra dept.
It fits right over the ashtray opening.
Subscribe to:
Comments (Atom)


